Collaborative bio-image analysis script editing with git
Posted by Robert Haase, on 4 September 2021
TL;DR: I’m a computer scientist who often collaborates with biologists on bio-image analysis scripts. We are using more and more git, a version control program, for working on code collaboratively. When using git, we speak about repositories, commits and pushing to the origin. We also make forks, send pull-requests and merge code. This blog post explains these terms and demonstrates how a typical collaborative bio-image analysis scripting project looks like.
We’ve all been in that situation: We wrote a little script that should count cells, but it doesn’t work and we can’t tell why. We need support from an expert. Maybe, we also would like to help others in the future by fixing bugs in open source projects. In this blog post I demonstrate how to work on code with colleagues collaboratively. We will use the version control tool git to prevent a project folder full of files called script_v7_robert_final_v2.py. Spoiler: We will hardly use any command line for this.
In simple cases, we can just go to image.sc, start a new thread, copy our code and ask for help. However, what if the code is quite long, involves multiple files and if the discussion about the issue becomes more complicated, the experts on image.sc may ask for a minimal working example (MWE). An MWE contains everything so that an expert could reproduce your issue on her computer. It may appear complicated to share this in the first place. However, preparing the MWE really pays off, for multiple reasons:
- Getting organized: Cleaning up code before sending it to the expert may resolve the original issue.
- Better understanding how experts work: Experts reduce problematic code to MWEs every day in order to fix them. It’s like pipetting in the wet lab, a very common routine.
- Divide and rule: By writing minimal code from the beginning, so that MWEs can be easily made out of it, leads to code that is easier to maintain long-term.
Example: a script with an issue
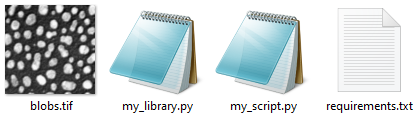
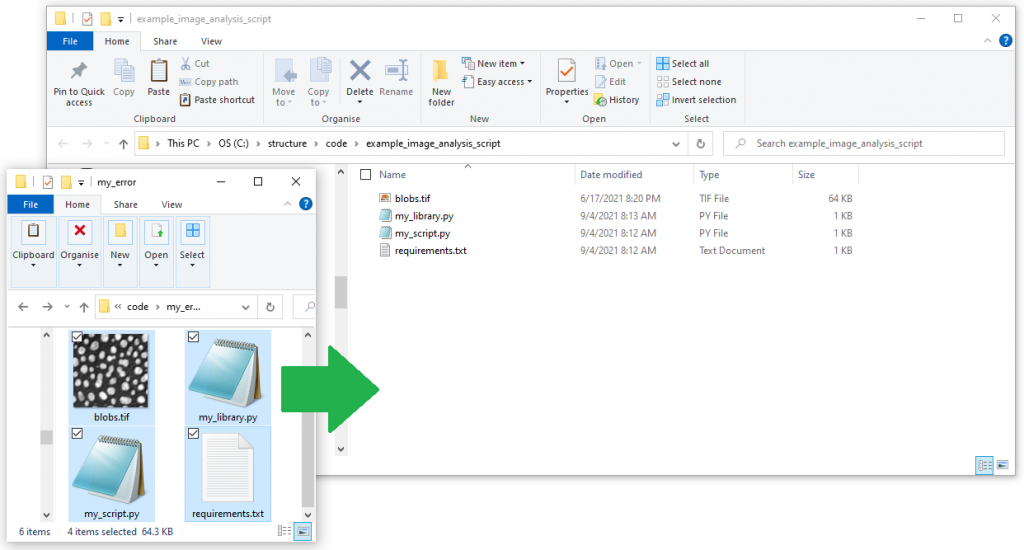
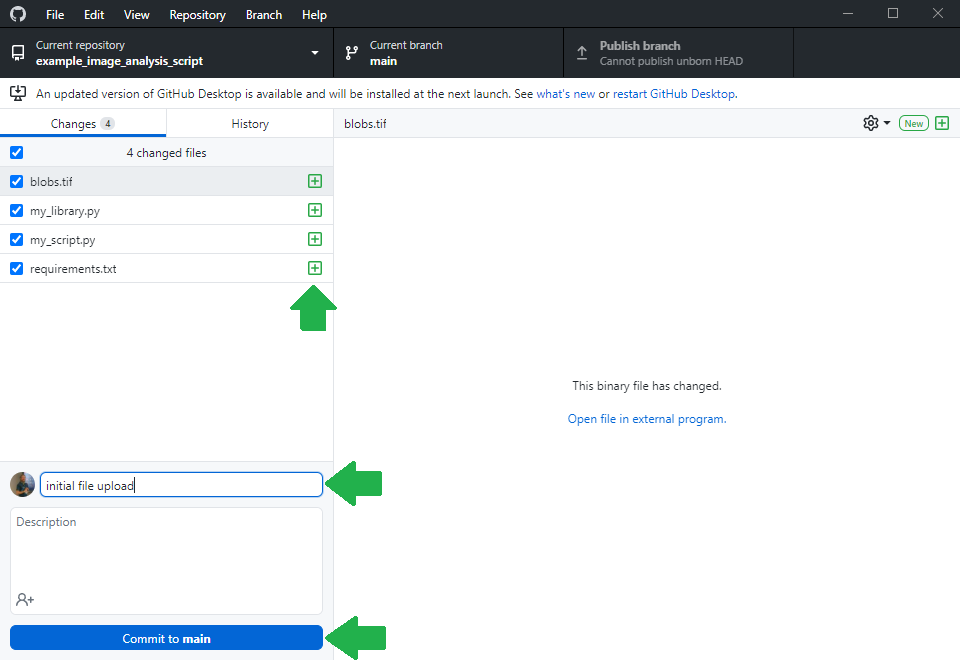
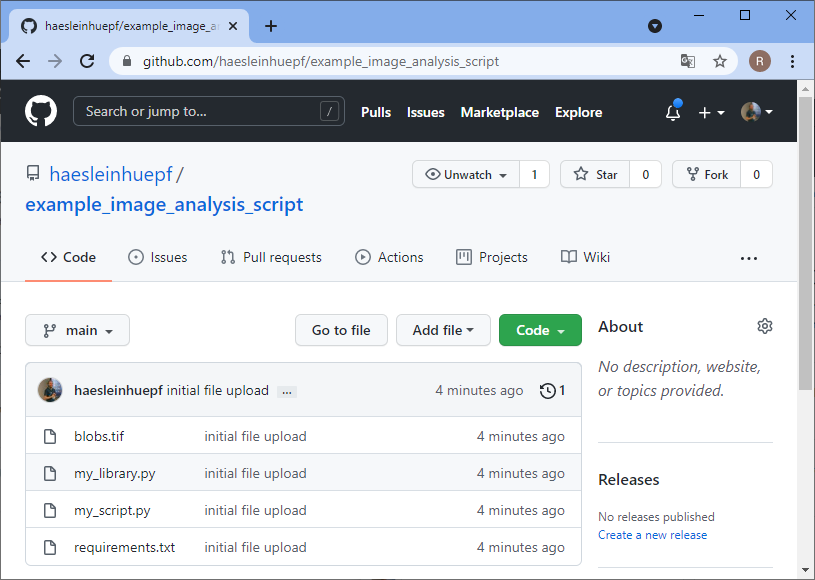
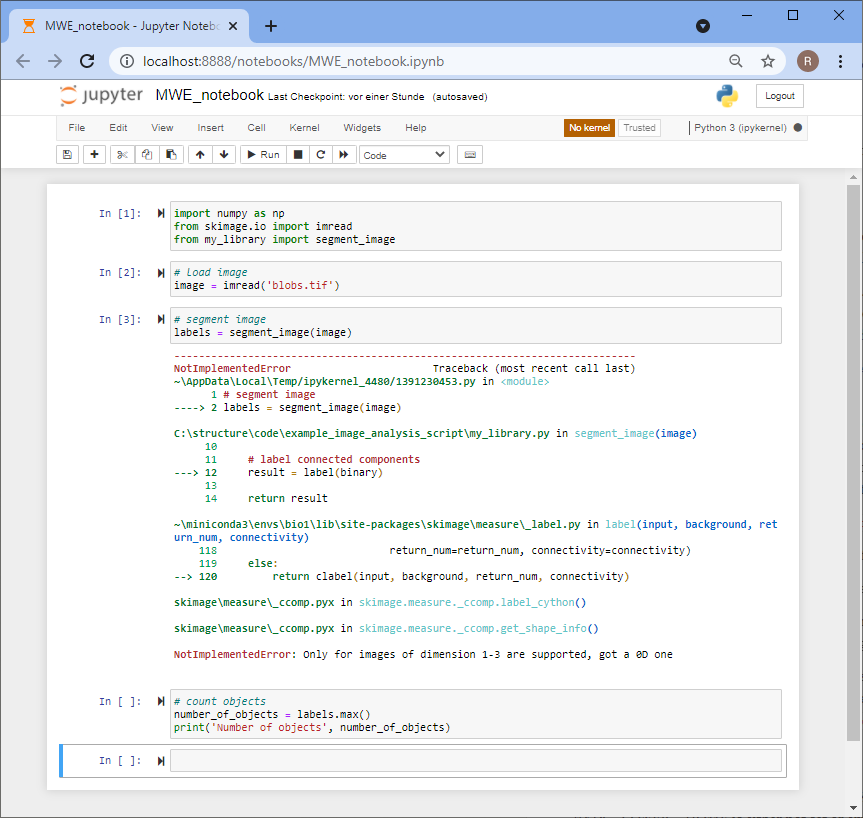
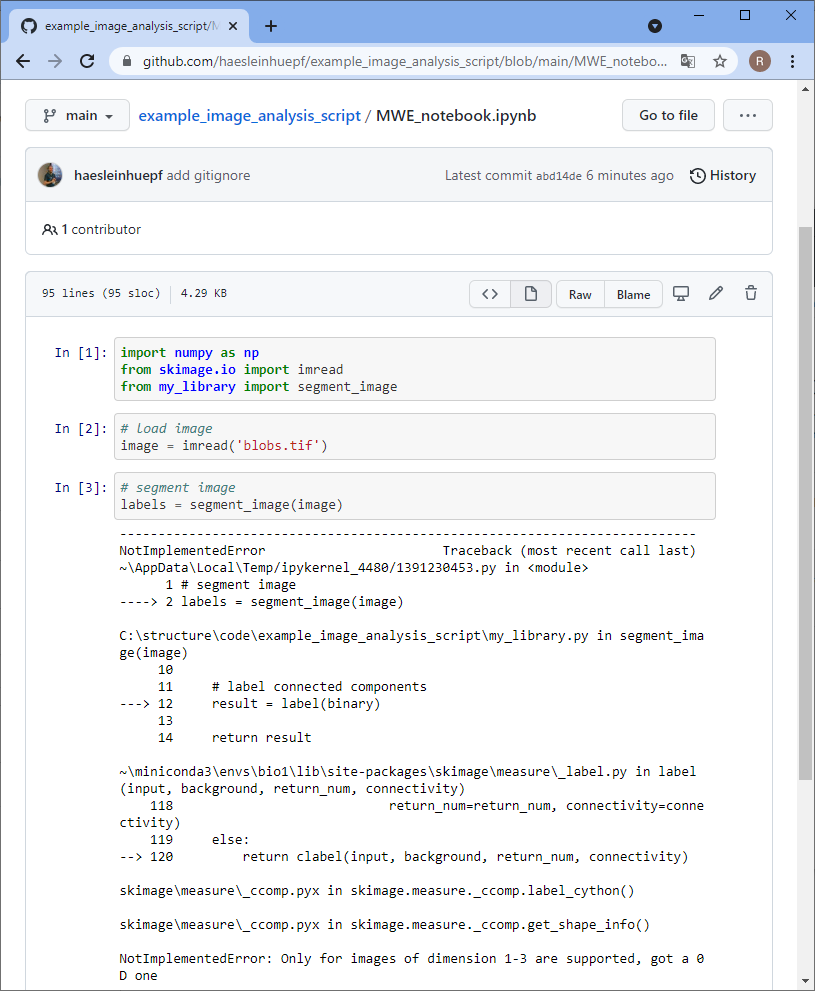
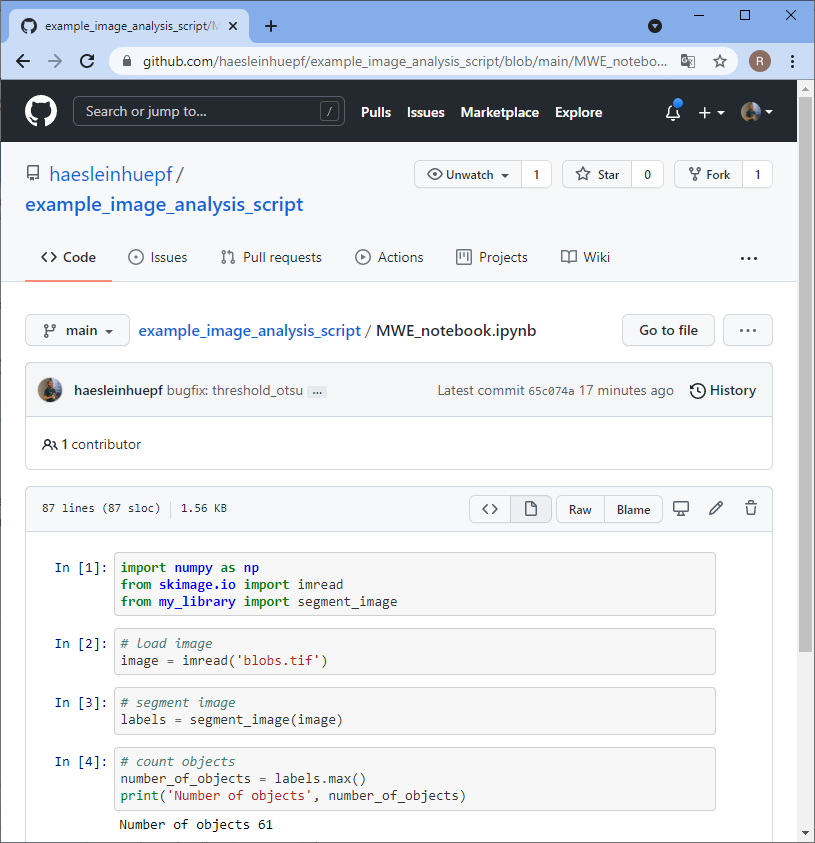
Assume our problematic script is written in python. We created a conda enviroment and started programming. The script loads an example image, segments it and counts the objects in the image. For the image segmentation we programmed a small library to keep our code well organized. Furthermore, for loading and processing the images, we are using scikit-image, a requirement, that is listed in a requirements text file. Thus, for discussing the issue with others, we need to upload four files to the internet:
We also would need to share the error message that we see when we execute the script. We will come back to this in a bit.
Sharing code on github.com
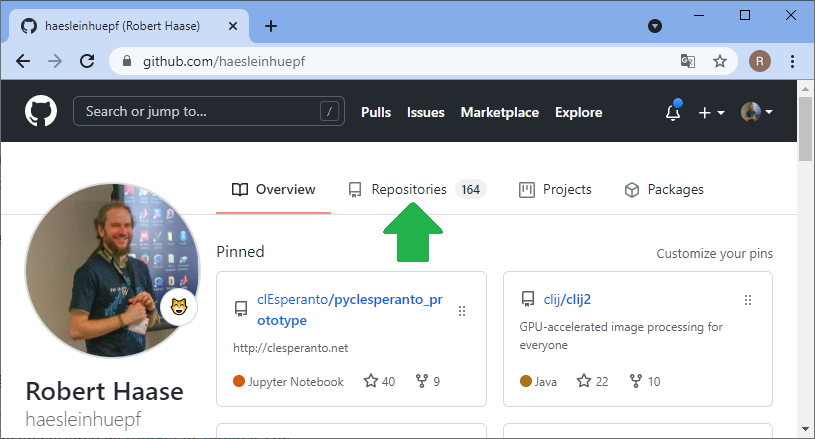
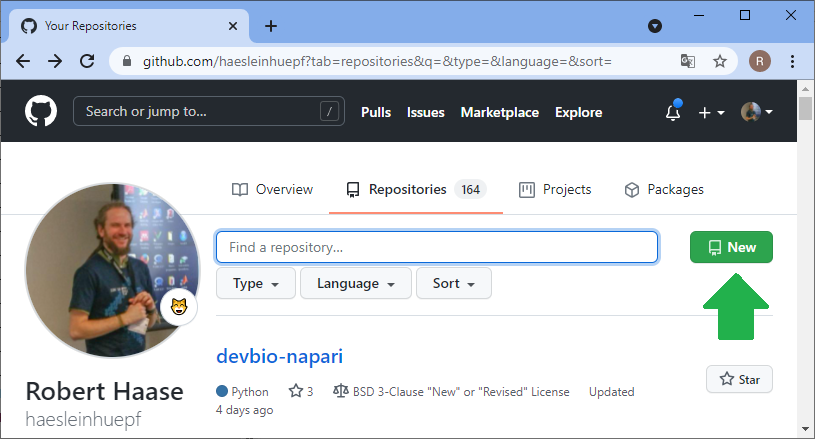
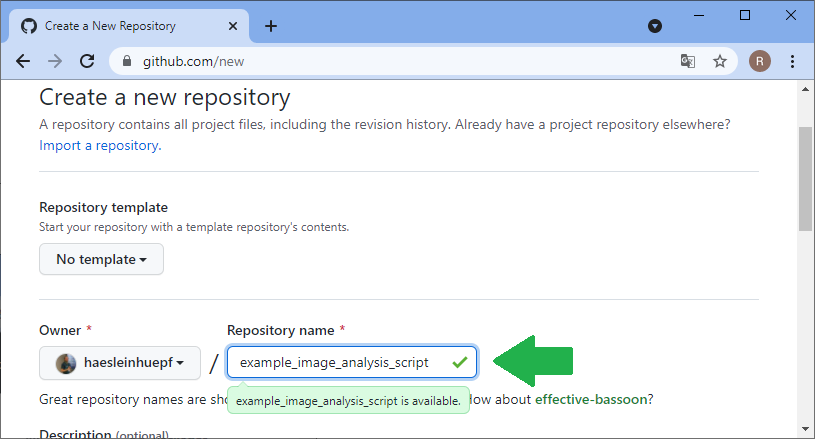
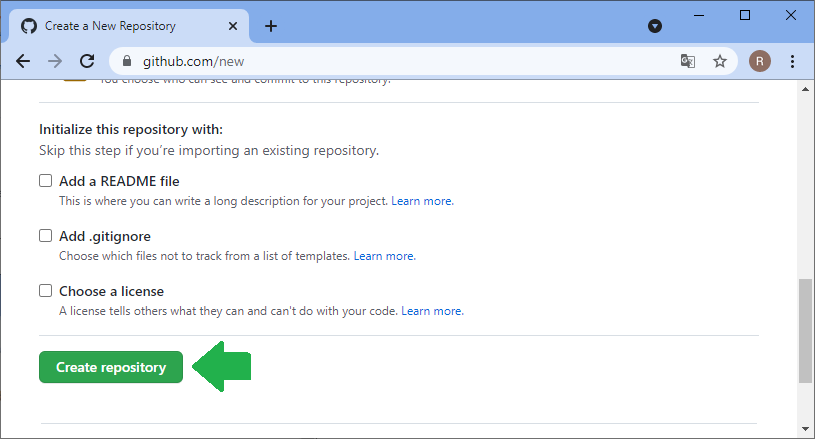
For sharing code and working on it collaboratively, manifold platforms exist. A quite common platform for open source projects is github.com. Thus, I will demonstrate how to work collaboratively on this platform. The same procedures work with famous open source projects such as ImageJ or napari. Thus, with learning the procedure here, you could help fixing bugs in such open source projects. The first step for sharing your code with others is creating an account on github.com and creating a folder where you can upload your files. Software developers call these folders repositories. In your github profile, you can click on repositories and create a new one:
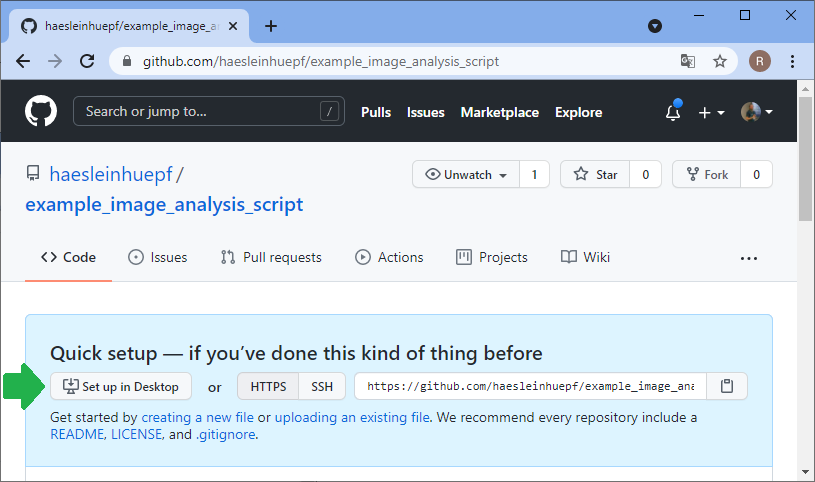
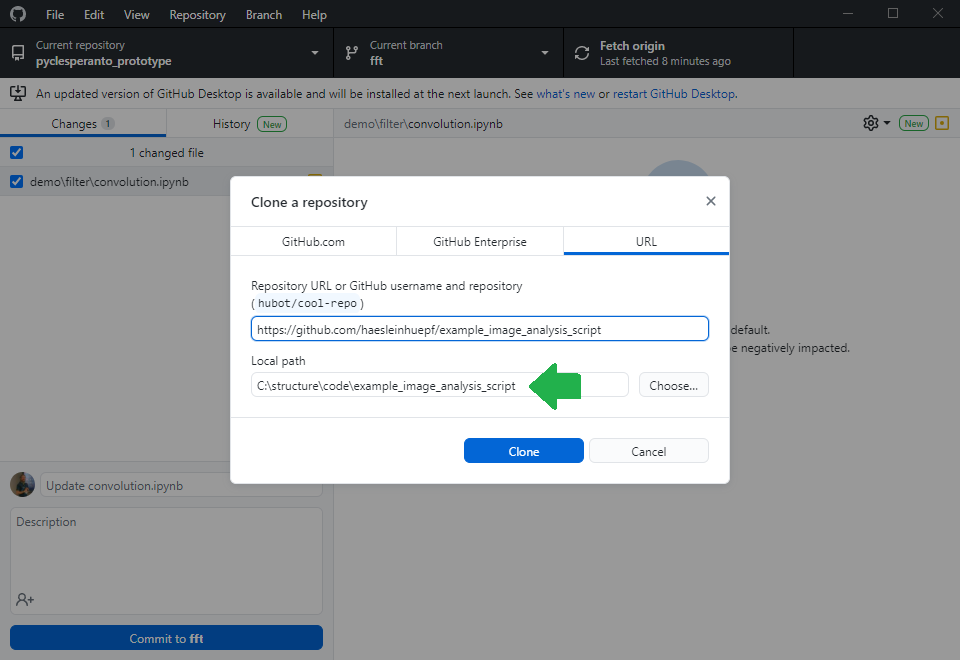
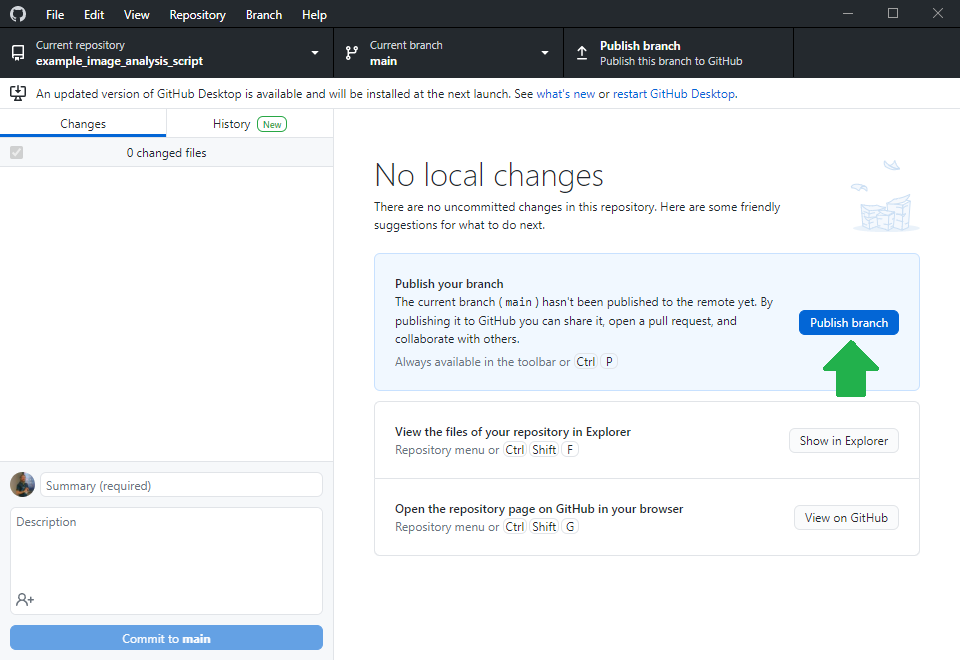
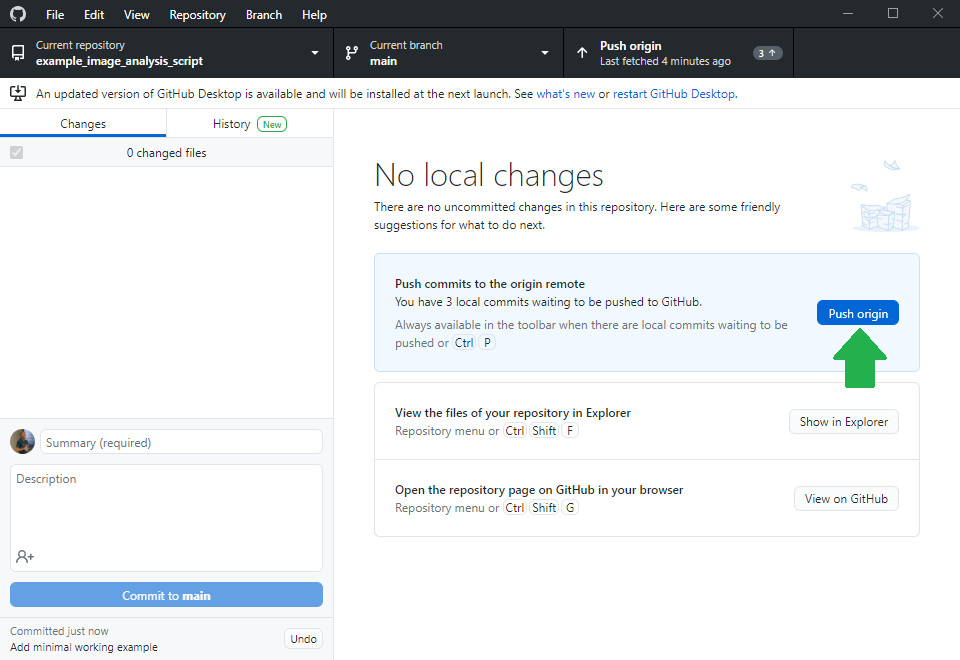
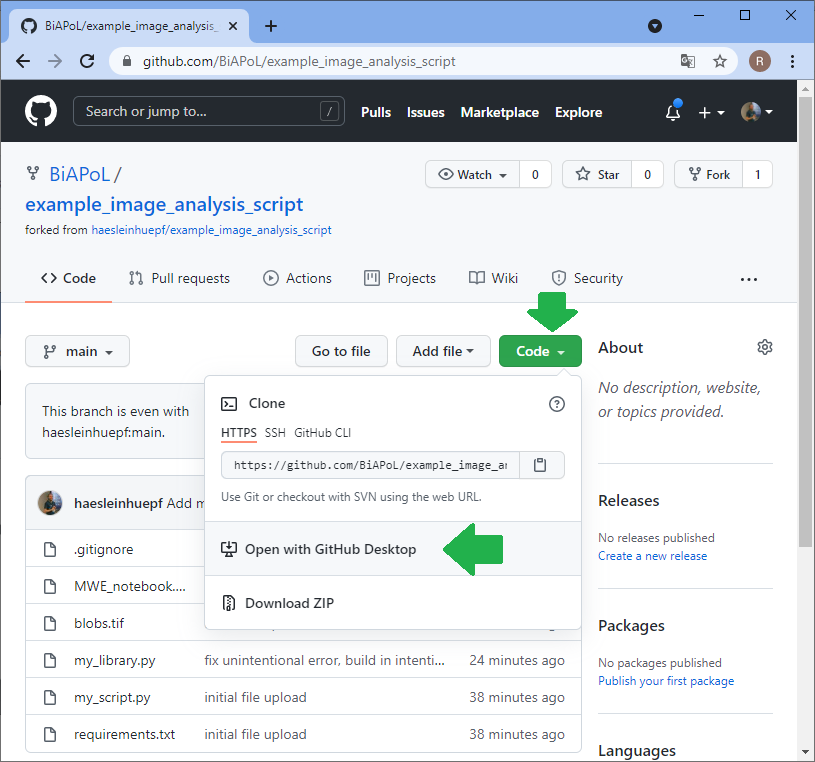
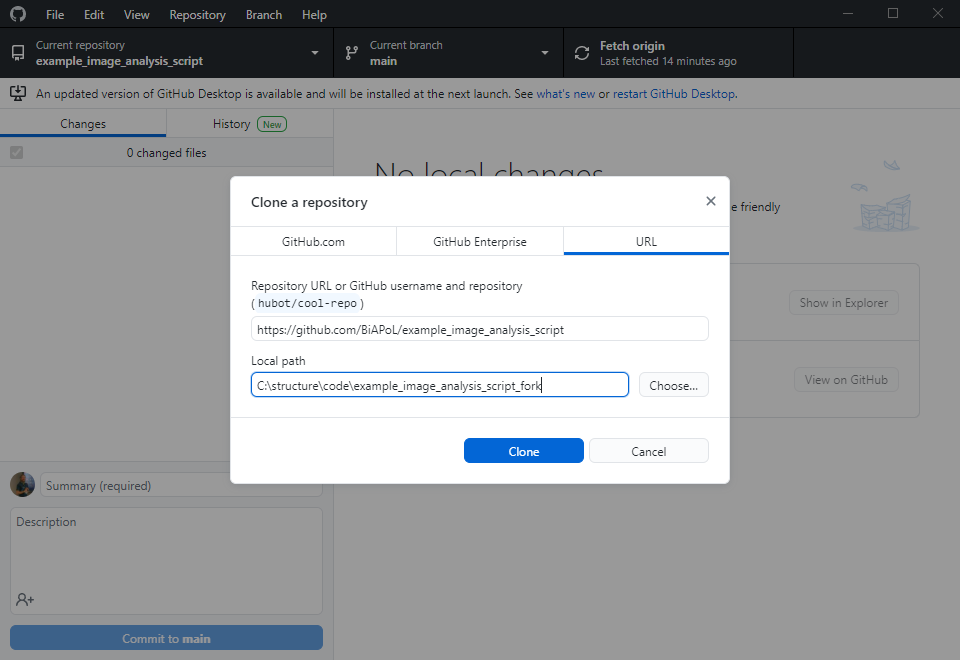
Before you can upload files to this online folder, you need to make a local copy of the repository. This is how git repositories work in very general: You make a local copy, by cloning it, change something in it and then you push your changes to the origin of the repository, to github.com in our example. For downloading the folder, we will use github desktop. Alternatively, one could use the command line.
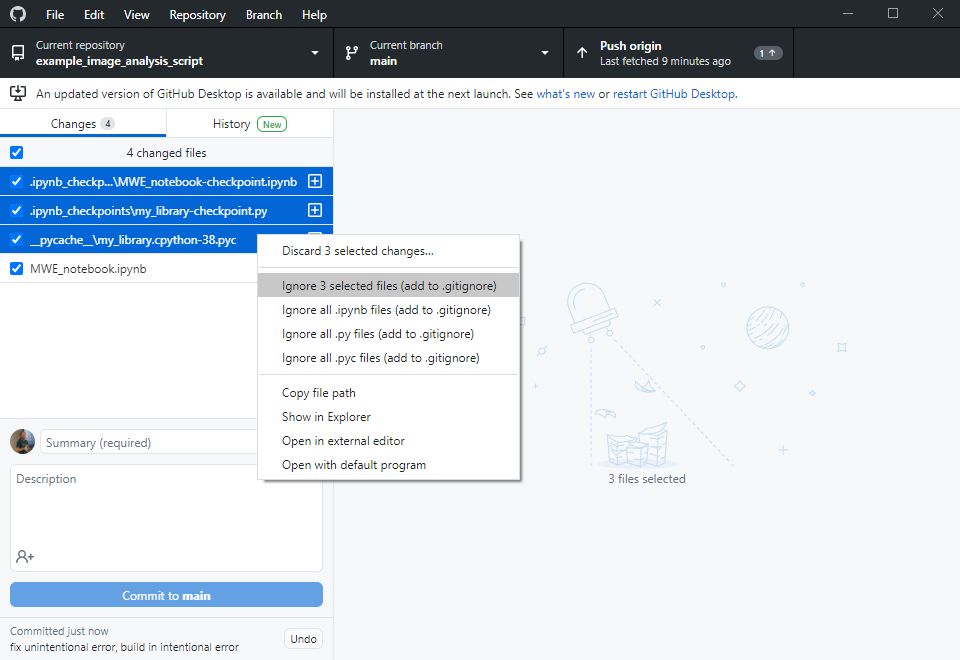
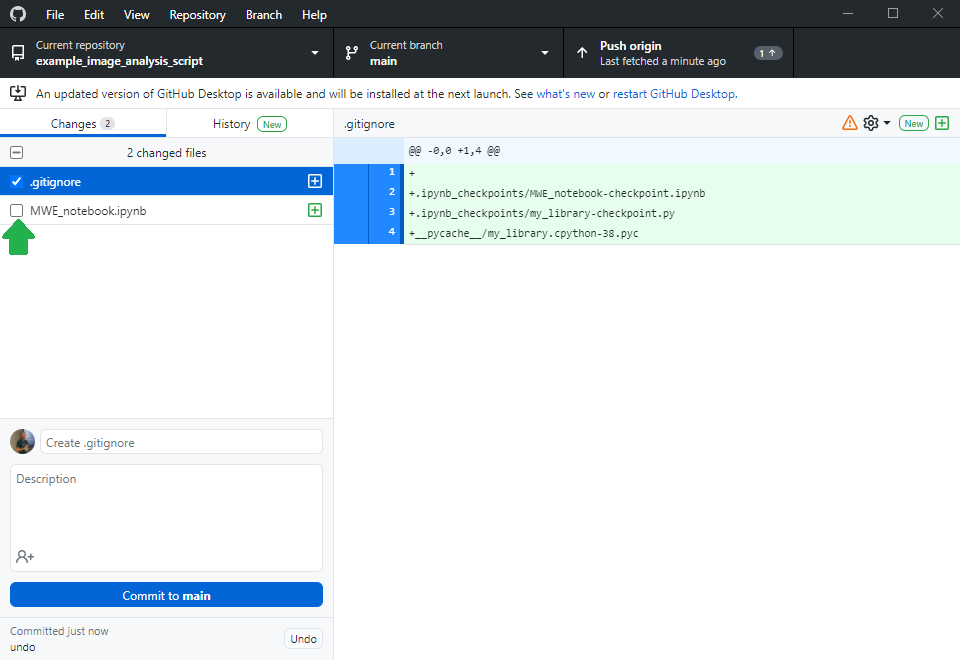
Making the life easy for collaborators
Others can now navigate to your online repository and read your code. However, they don’t see the error we experienced yet. Of course, we could ask the expert to download the code, run it and read the error. However, this is obviously some extra burden for them. As we are asking for help, we should make it as easy as possible for them to help us. Thus, we will create a jupyter notebook that reproduces our error. Therefore, we basically copy the code from my_script.py into a new jupyter notebook and execute it.

Asking for help
This is the point, where we can ask for help. We can send a link to the notebook to collaborators or put it in a new thread on image.sc and explain details.
Switching perspective: The collaborators’ view
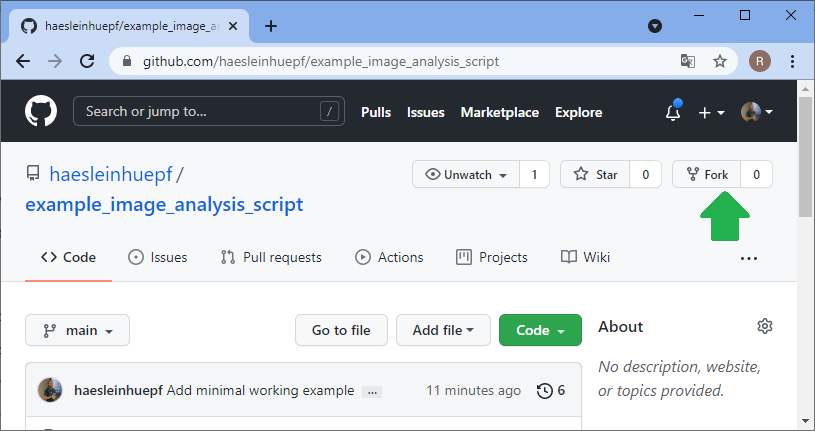
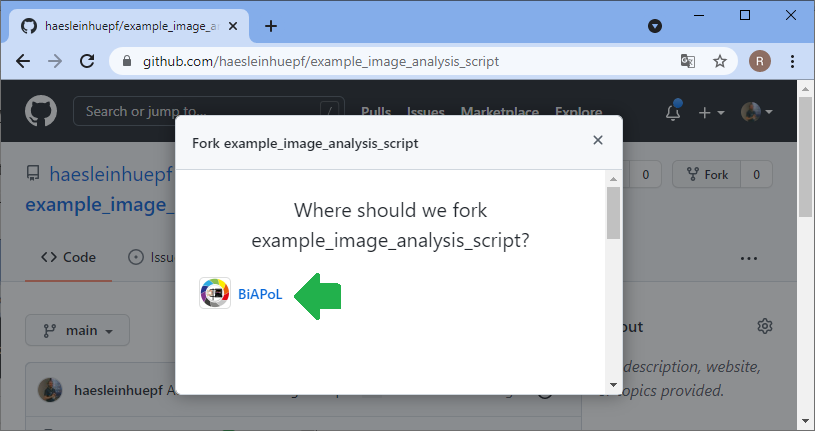
Now let’s change the perspective: The collaborator can explore your code in the github repository and already get a glimpse on what might be going wrong. However, in order to fix the issue, the collaborator will need to make a copy of your repository, try out some potential solutions and then send the updated code back to you. The first step is to fork the repository. A fork is basically just a copy.
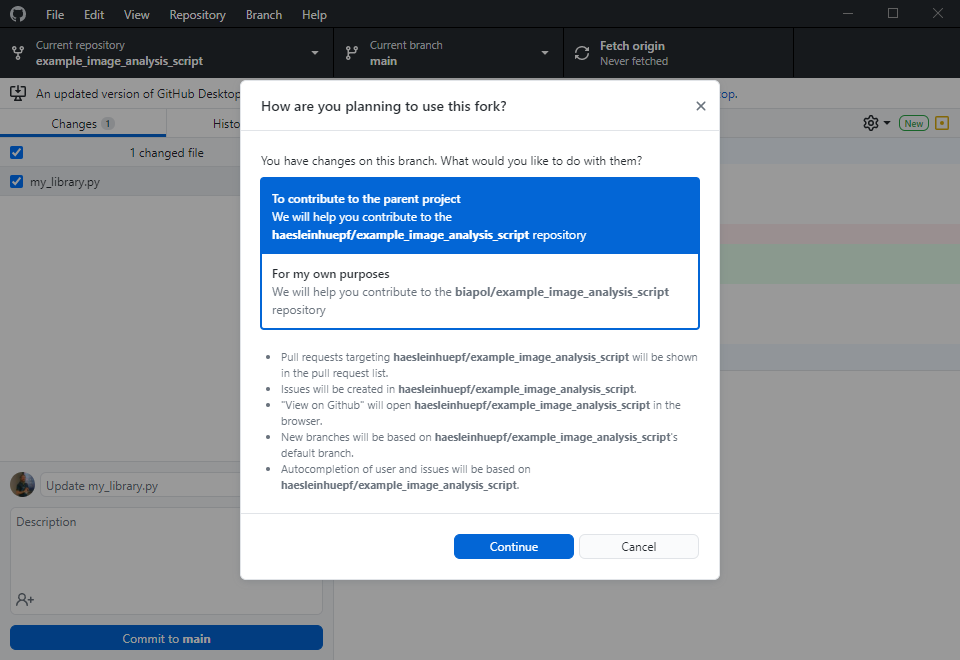
The collaborator will then execute this command line to install the requirements you specified. Make sure you specified them all in requirements.txt, otherwise the collaborator may struggle with this step:
pip install -r requirements.txt
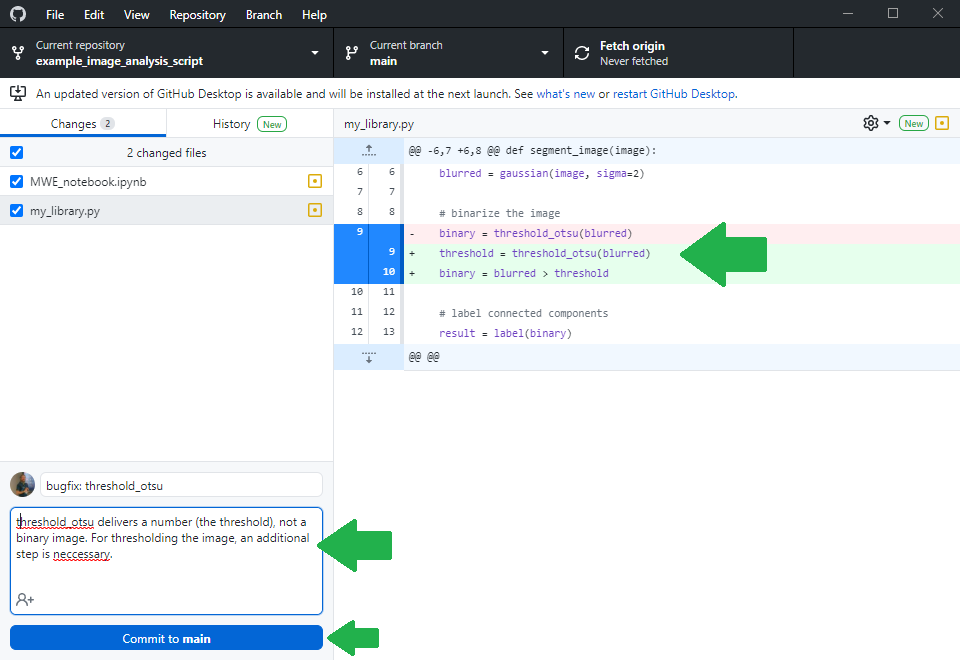
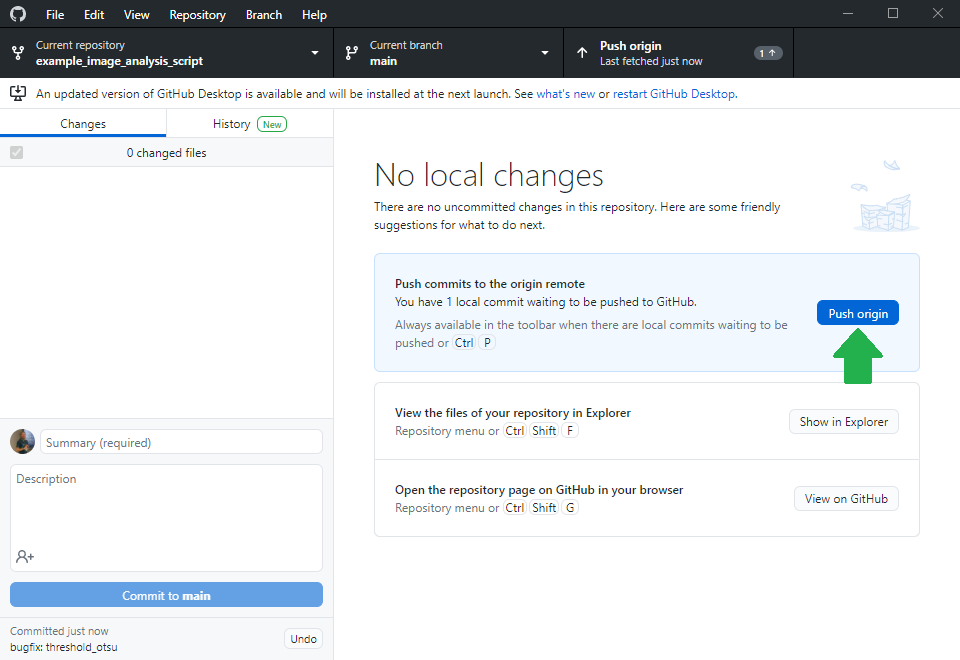
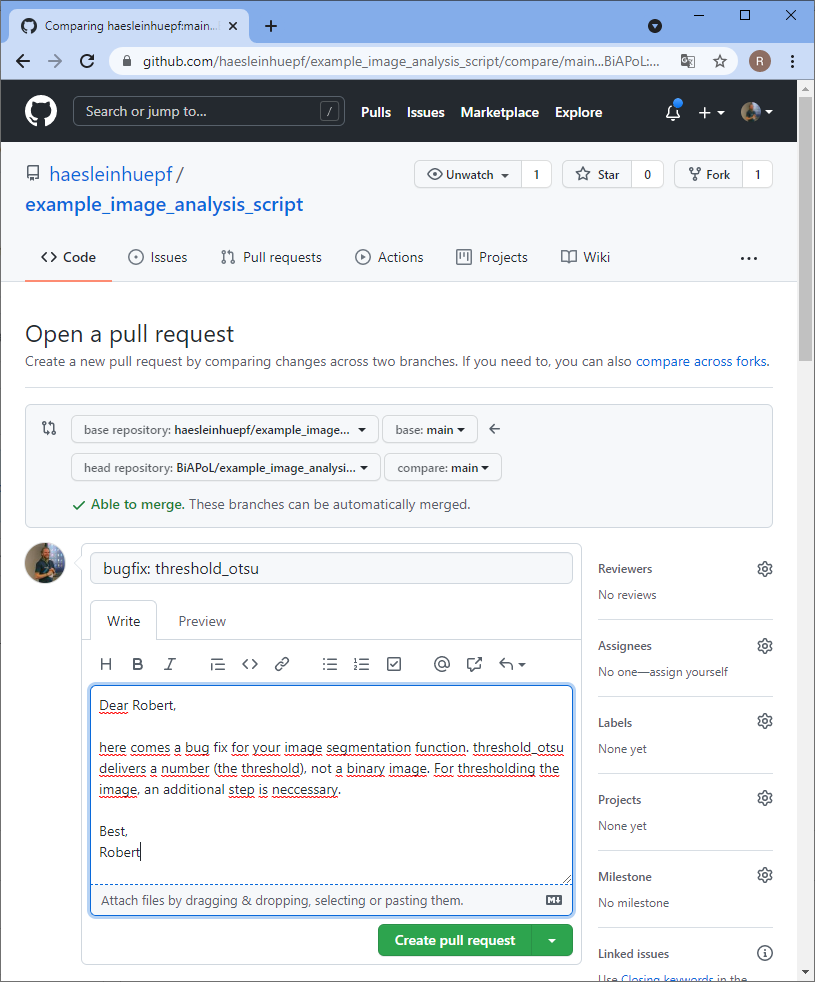
After fixing the bug, the expert will also upload her changes as you were uploading the notebook earlier.
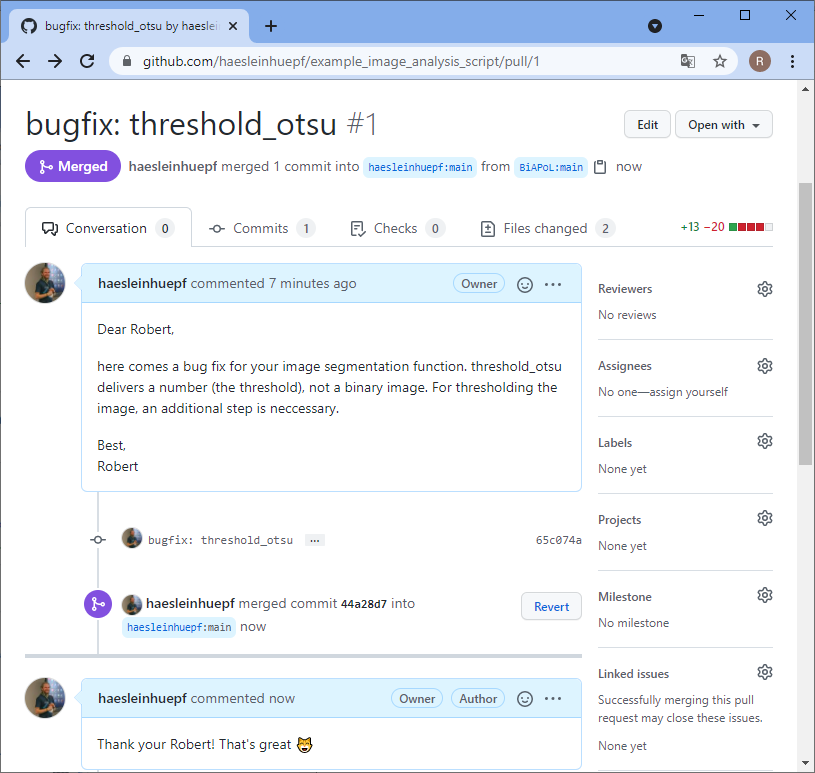
Filing a pull-request
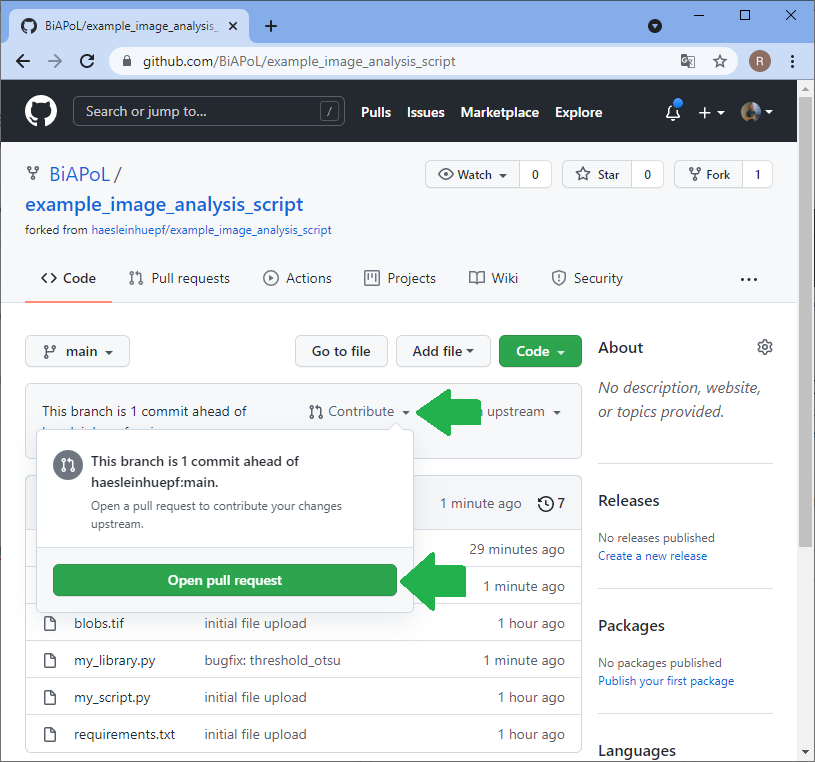
The bug has been fixed, but you don’t know it yet. The collaborator needs to notify you and send you the code change that fixed the bug. Therefore, the collaborator sends a pull-request, often also short PR. PRs are necessary also from a copyright point of view. If you would just take the change from the collaborator, they could say you were stealing it. However, if they request you to pull changes over, they officially allow you to copy the change. That’s why this procedure is called pull-request.

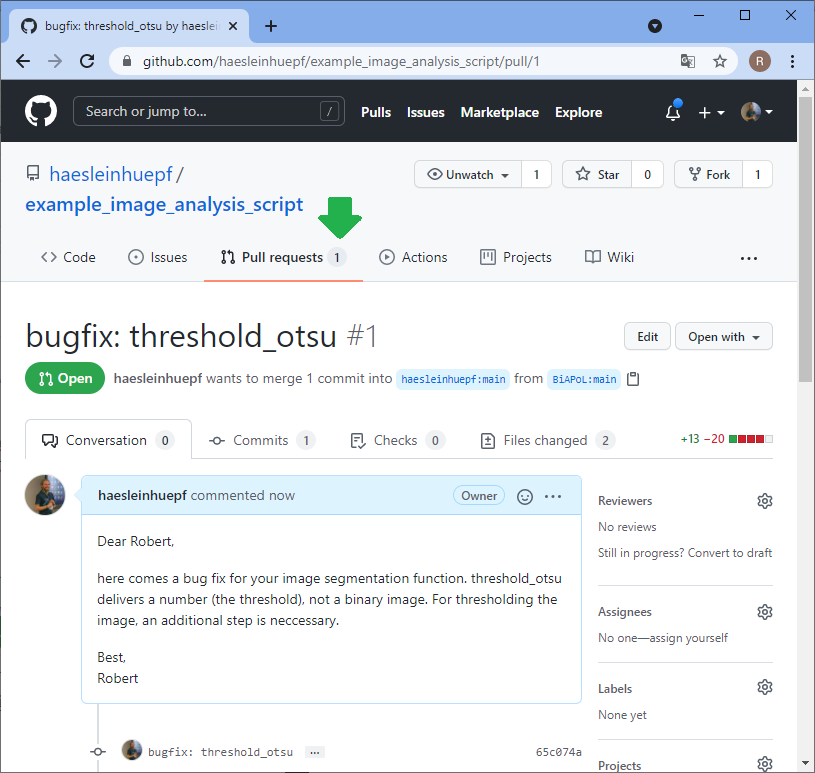
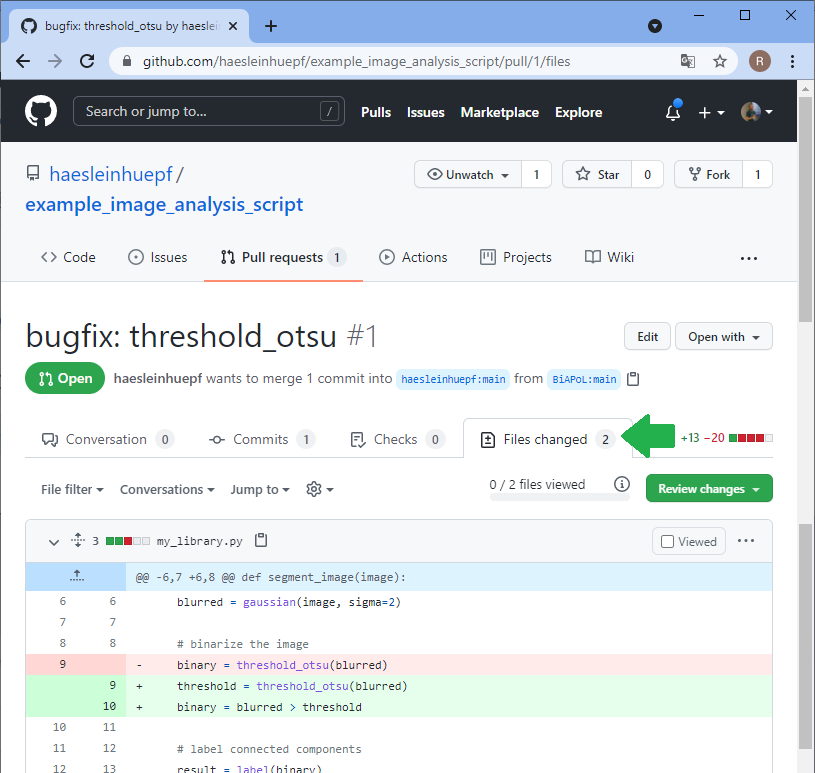
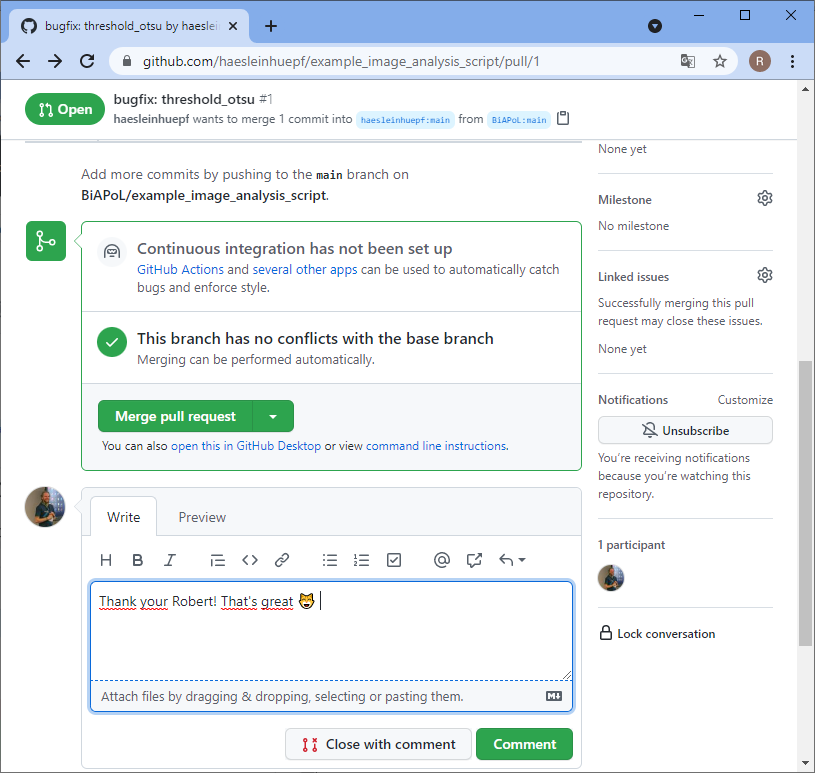
Merging changes
Back to our perspective of the repository, we will see that a pull-request arrived.
Summary
When collaborating in bio-image analysis scripting projects, it is important to share minimal working examples. This reduces the need for explaining things in very detail by just providing a script that throws an error. When providing these examples, also don’t forget to also put example images in the same place. A popular way for working together on code projects is git, a version control program. While git is often used by experts from the command line, it is also possible to use it via web-interfaces like on github.com and in click-and-run software such as Github Desktop. When following common procedures for exchanging code, you create an empty git repository, clone it to your computer, put your files in it, commit them to the repository and push your changes to the origin of the repository. A collaborator can then fork the repository, clone it, commit changes, push them to her fork and send you a pull-request. I know it’s a couple of terms which might be confusing at the beginning. These terms and the procedure involving them is so common in data science that I can highly recommend trying it out.
Feedback is highly welcome!
Reusing this material
This blog post is open-access. Figures and text can be rused under the terms of the CC BY 4.0 license unless mentioned otherwise.
 (9 votes, average: 1.00 out of 1)
One thought on “Collaborative bio-image analysis script editing with git”
Leave a Reply
Write a ‘How to’ post
Create an account or log in to post your story on FocalPlane.
More posts like this

Filter by
- NewsApply
- DiscussionsApply
- How toApply
- ToolsApply
- Case studiesApply
- InterviewsApply
- JobsApply
- EducationApply
- Blog seriesApply
- Asian Microscopists ..and Cell BiologistsApply
- AIC at HHMI JaneliaApply
- Deep Learning for Bi..o-image analysisApply
- GloBIAS – updates fr..om the communityApply
- WAMBIAN: West Africa.. in FocusApply
- Volume EMApply
- Latin American Micro..scopistsApply
- Bio-image Analysis w..ith NapariApply
- Imaging with…Apply
- Towards Global Acces..sApply
- Latin America Bioima..gingApply
- From Zero to Qupath ..HeroApply
- Highlights from Euro..-BioImagingApply
- LSFM seriesApply
- DIY MicroscopyApply
- View all
Thanks for the detailed explanation.