Sharing research data with Zenodo
Posted by Robert Haase, on 15 February 2023
TL;DR: Sharing data open access is good scientific practice. If data is shared via online portals such as https://zenodo.org, we can implement best practices for sharing, licensing, reusing and citing research data. In this blog post I guide through the minimal procedures that are necessary to share a dataset publicly following the FAIR principles; to make it Findable, Accessible, Interoperable and Reusable.
The scenario
Assume a potential future collaborator asks for a dataset we showed in a talk recently or already published about earlier this year. The data is not hot research data; if we uploaded this one file to the internet, nobody could scoop us. Thus, we’re fine sharing it publicly. Such small dataset are extremely valuable, for example for methods and tools developers like yours truly. Reusing such data (the R in FAIR) we can improve our tools and make sure they serve community needs. Hunting for data that can be reused can be quite challenging [1], [2] while sharing data is actually super easy [3], [4]. Thus, if you can share a dataset that might be of interest, e.g. for algorithm developers, you find instructions for sharing the data in this blog post.
Zenodo
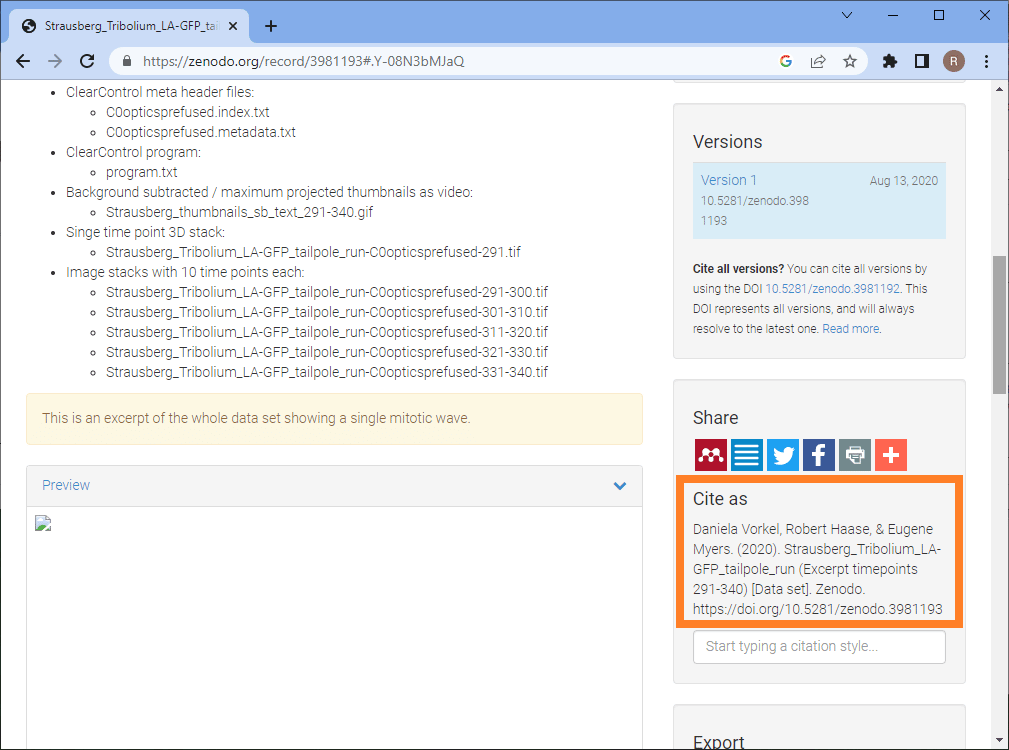
Zenodo is a platform for sharing data openly for free with benefits such as easy downloading data, preview of common file formats and making your data citable. Zenodo is funded through public funding sources such as CERN, OpenAIRE and the European Union Horizon 2020 programme. You are not uploading your data to a big corporate company who may do evil things with it. Zenodo gives your dataset a nice web page where everyone can read who were the authors of the dataset, the meta data you entered and you can also see how often it was downloaded. Another highlight of the page is the section Cite as instructing readers and downloaders of your data how to cite your work.
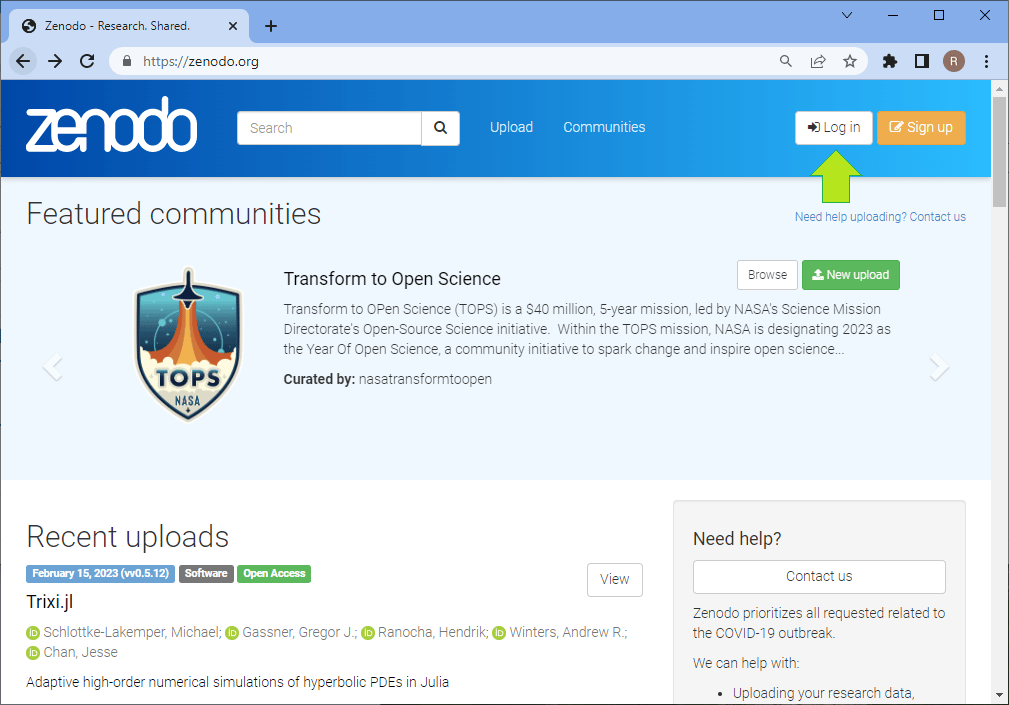
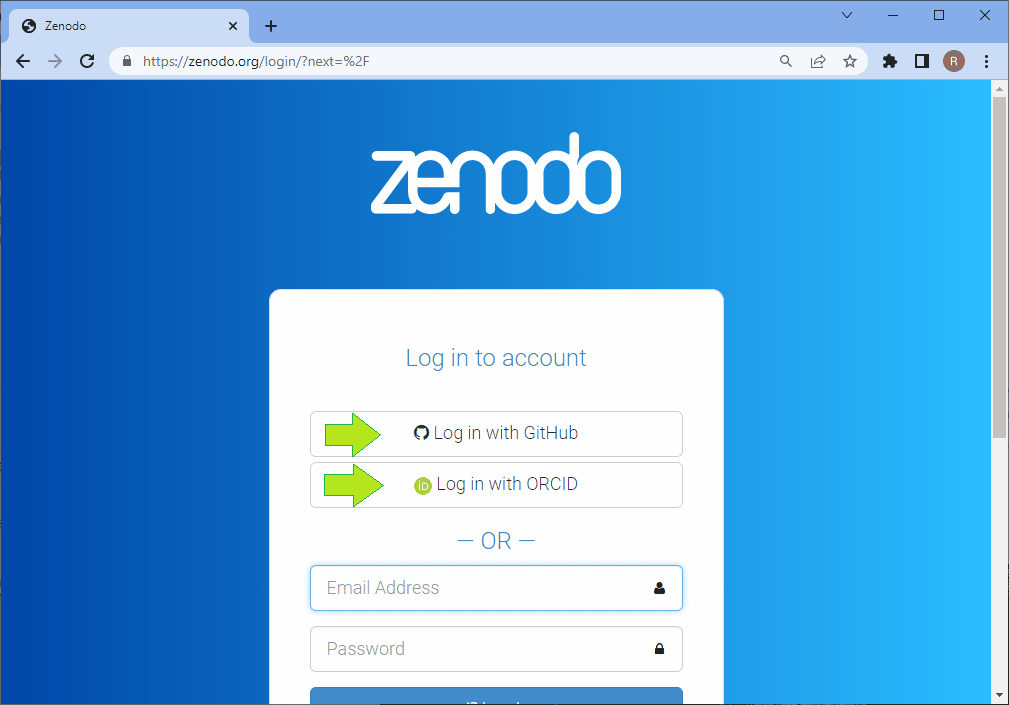
For uploading data, the first step is to login to Zenodo. I typically login using my GitHub account. You can also use your ORCID account or create a custom one.
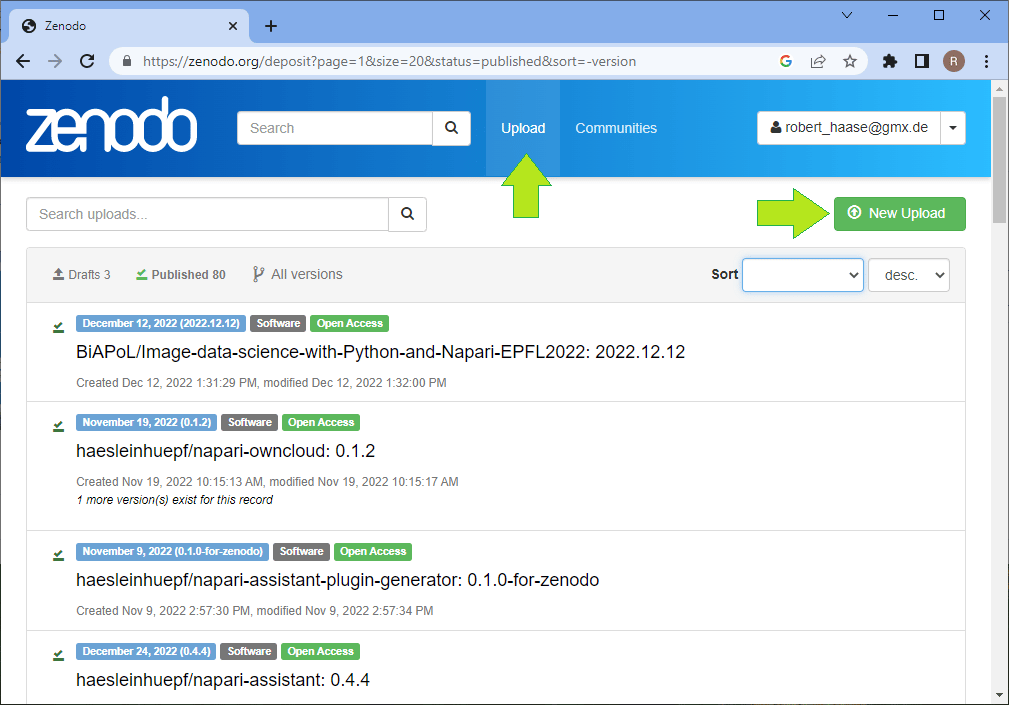
After logging in, you can click on the Upload button on top. It will bring you to a page where you later can see all datasets you shared in the past. On this page, there is also a New Upload button which sends you to the New Upload form.
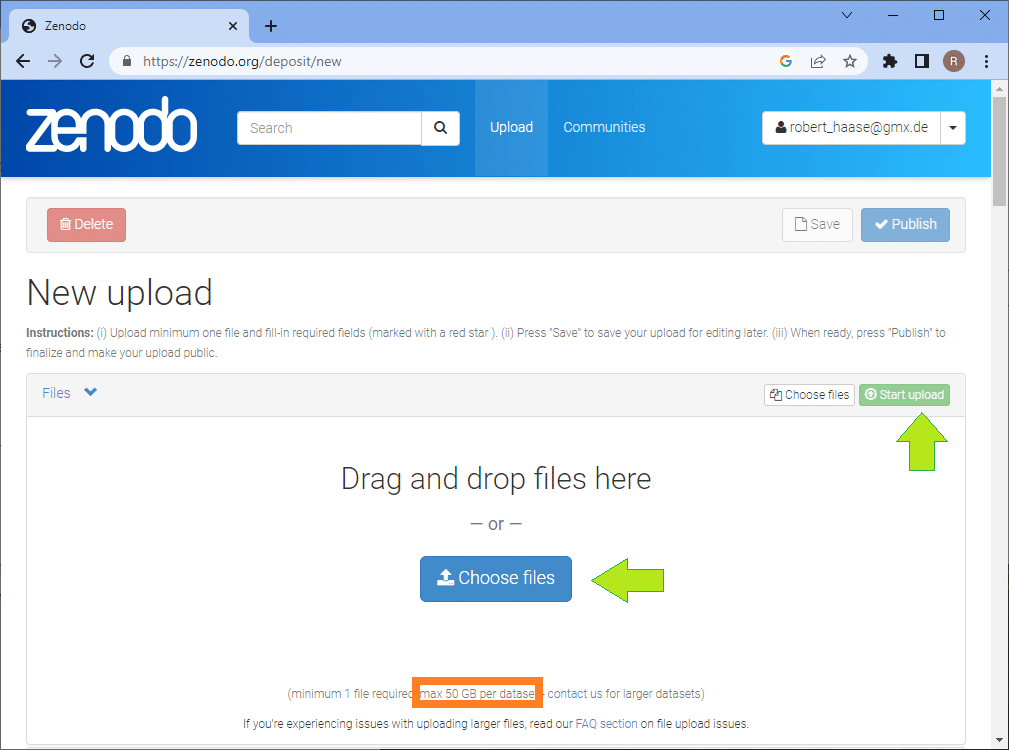
On this page, you can immediately upload files. The limit of 50 GB is amazing if you keep in mind that this is a free service. And more is possible by getting in touch with the platform maintainers. After choosing files, don’t forget to click the Start Upload button. I recommend using open standardized file formats such as TIF for imaging data allowing others to use any kind of software for opening your data. Also upcoming file formats such as the next generation file format NGFF may be future-proof approaches. If you want to make sure that imaging data is uploaded with proper meta data, it is recommended to upload the file in the original file format provided by the microscope vendor. Depending on the vendor, the file might then be harder to open and less interoperable (the I in FAIR). When uploading timelapse imaging data, I also often add an animated GIF file, e.g. saved using ImageJ/Fiji, of maximum projections of the dataset to give viewers the opportunity to quickly access what was happening during my imaging session without the need to download 50 GB of data.
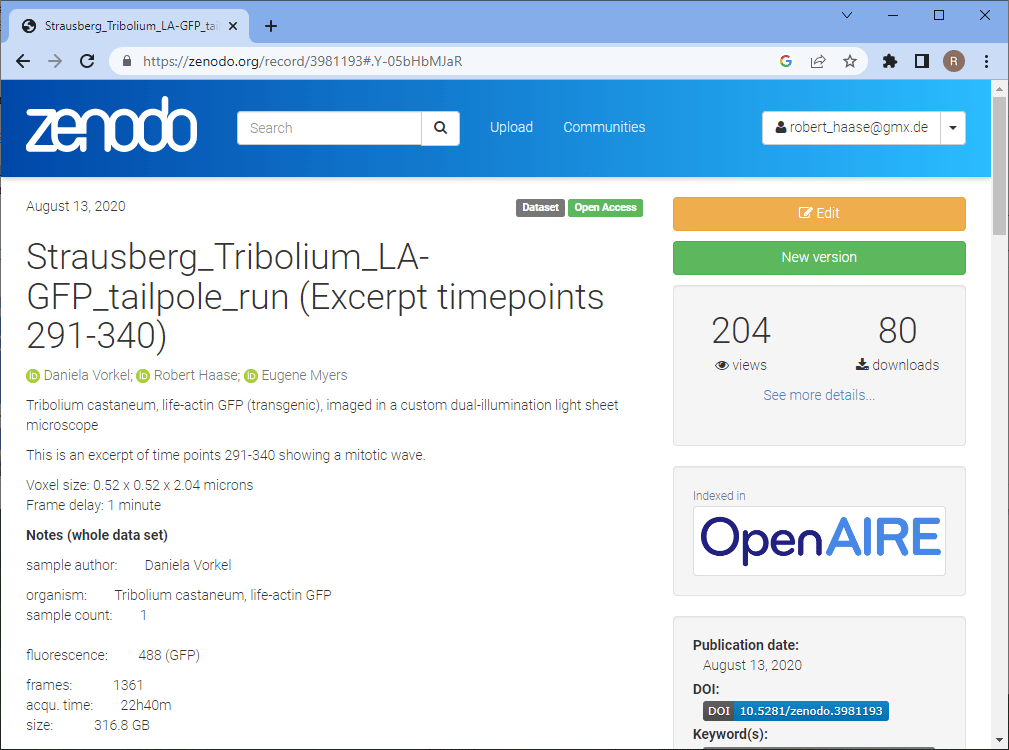
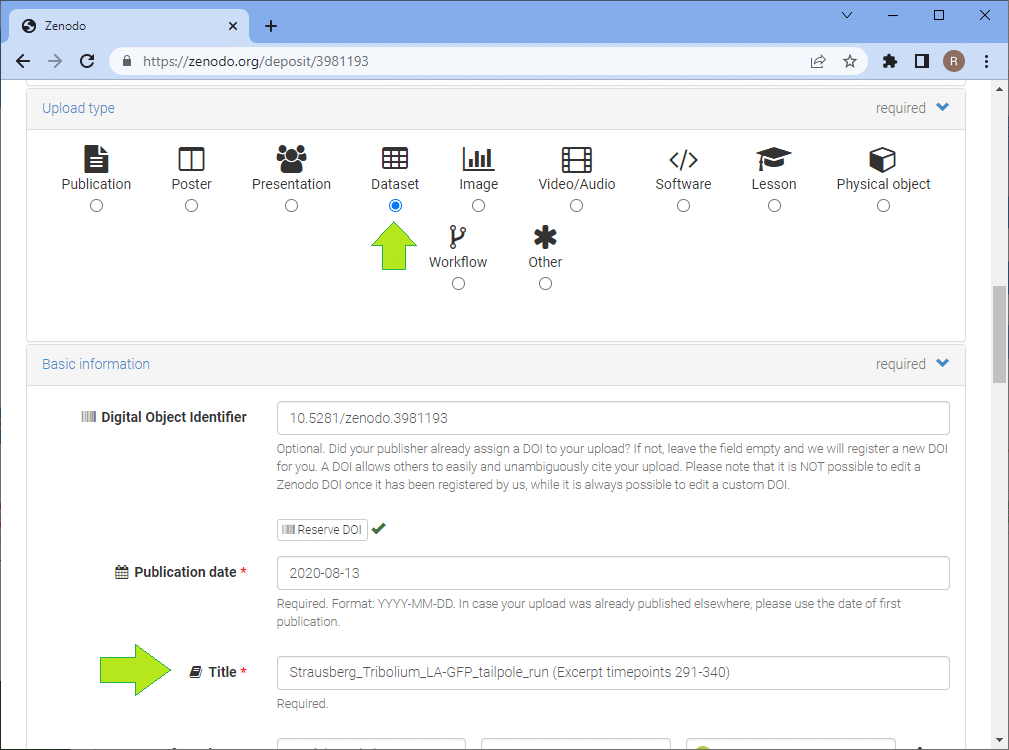
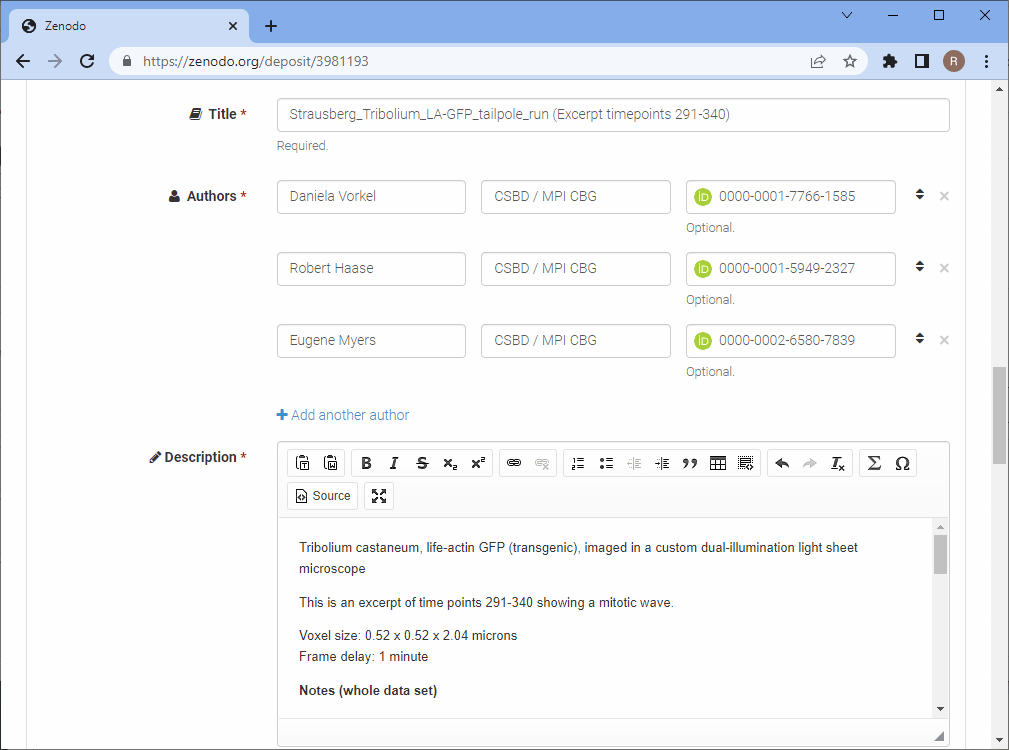
The next steps I’m demonstrating with a dataset I shared earlier. The form looks the same like when uploading a new dataset. When scrolling down the page, you find a section where you can select the upload type and enter an appropriate title. In my time in Myers lab at MPI-CBG we called datasets after city names. You can remember datasets named “London” much easier than “LS346” in case something amazing happened during the experiment. That’s why this particular lightsheet imaging dataset of a developing Tribolium castaneum embryo is called Strausberg. When uploading a new dataset, the digital object identifier (DOI) is unset.
Scroll further down the page and you’ll come to the section where you can enter your co-authors. If they have ORCID-identifiers, add them to the form too. The ORCID system allows you to track your publications in a list automatically. In the following section you can add meta data. This is the more important the more you want to enable to reuse the data properly. Thus, if you share the data together with a scientific publication, you should make sure you follow best-practices [5, 6]. If you’re just sharing a small example dataset, some minimum meta data should be sufficient: Explain how the image data was acquired, what sample we are looking at, voxel size, frame delay etc. Write a short story about the experiment and link to relevant literature. When entering this description make sure to use standardized keywords, e.g. from the EDAM ontology. This will later allow to find your data (the F in FAIR). If you published some more details about your data, e.g. in a journal, link it, too!
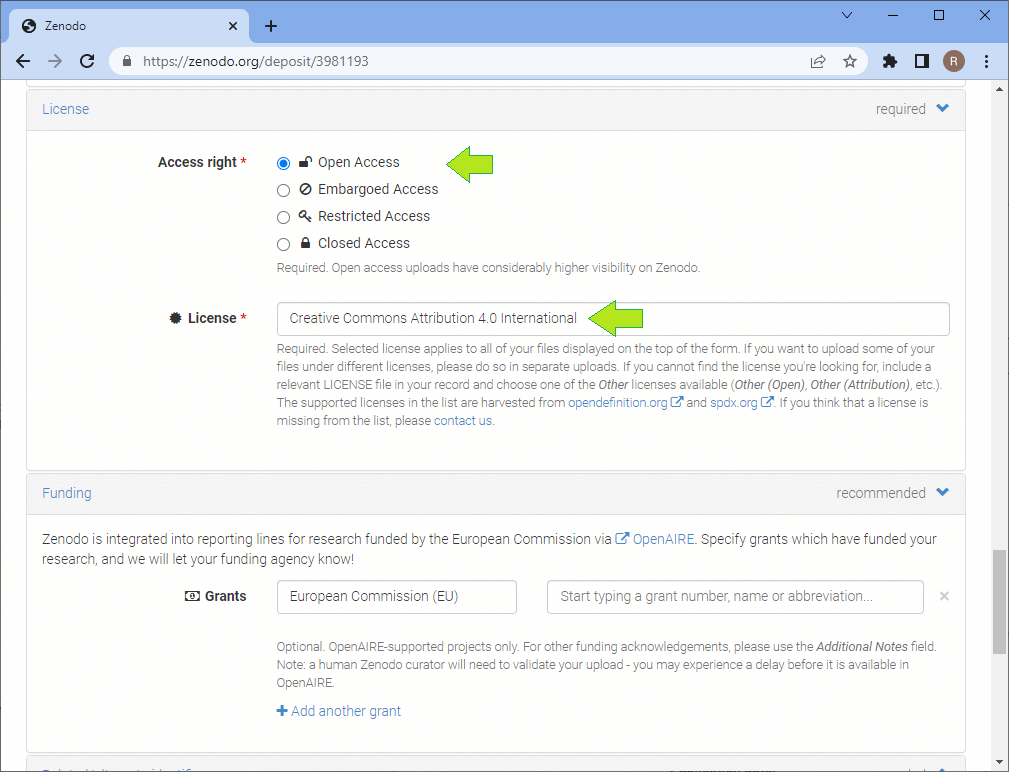
Further down the page, you can select the access right (the A in FAIR). Thus, Zenodo also allows you to share data privately. Next, you should select the right license. For choosing a license I recommend thinking of how the data should later be used. I personally prefer licensing my data using the Creative Commons Attribution 4.0 license, also known as CC-BY 4.0 because it allows people to reuse my data with minimal restrictions. All they need to do is mention and acknowledge the original authors of the data and provide a link to the license. Thus, if someone can write a nice tutorial about how to process my data, they only need to do these two easy things. There are other licenses such as CC-BY-SA, which are more restrictive. The SA stands for share-alike. If others reuse the data, e.g. for a tutorial, the tutorial must also be shared under CC-BY-SA. I personally think it is not nice to force others to use a specific license on their things and that’s why I use CC-BY for sharing my data.
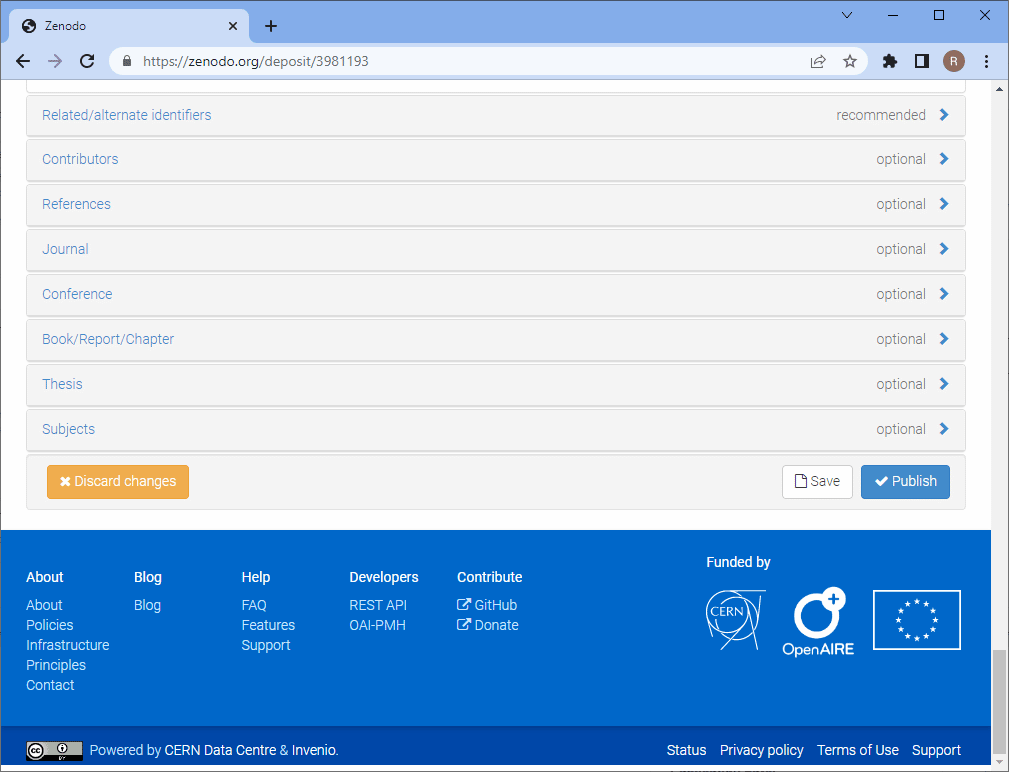
Towards the end of the page your find more optional things to enter and most importantly the Publish button. After clicking it, your data is available for others to download. It’s as easy as that.
Voila, your dataset is now Findable, Accessible, Interoperable and Reusable! Thanks for your FAIR contribution 🙂
Reusing this material
This blog post is open-access. Figures and text can be rused under the terms of the CC BY 4.0 license unless mentioned otherwise.
 (9 votes, average: 1.00 out of 1)
Write a ‘How to’ post
Create an account or log in to post your story on FocalPlane.
More posts like this

Filter by
- NewsApply
- DiscussionsApply
- How toApply
- ToolsApply
- Case studiesApply
- InterviewsApply
- JobsApply
- EducationApply
- Blog seriesApply
- From Zero to Qupath ..HeroApply
- Asian Microscopists ..and Cell BiologistsApply
- AIC at HHMI JaneliaApply
- Deep Learning for Bi..o-image analysisApply
- GloBIAS – updates fr..om the communityApply
- WAMBIAN: West Africa.. in FocusApply
- Volume EMApply
- Latin American Micro..scopistsApply
- Bio-image Analysis w..ith NapariApply
- Imaging with…Apply
- Towards Global Acces..sApply
- Latin America Bioima..gingApply
- Highlights from Euro..-BioImagingApply
- LSFM seriesApply
- DIY MicroscopyApply
- View all